This is my first cake stencil design.
Looks easy but not exactly hehheheh quite challenging I must admit.
Lots of practice and exploring to do.
Now butterfLai needs to buy more cake stencil hehehheheh.....
With matching inner designs ....
Sunday, 26 May 2013
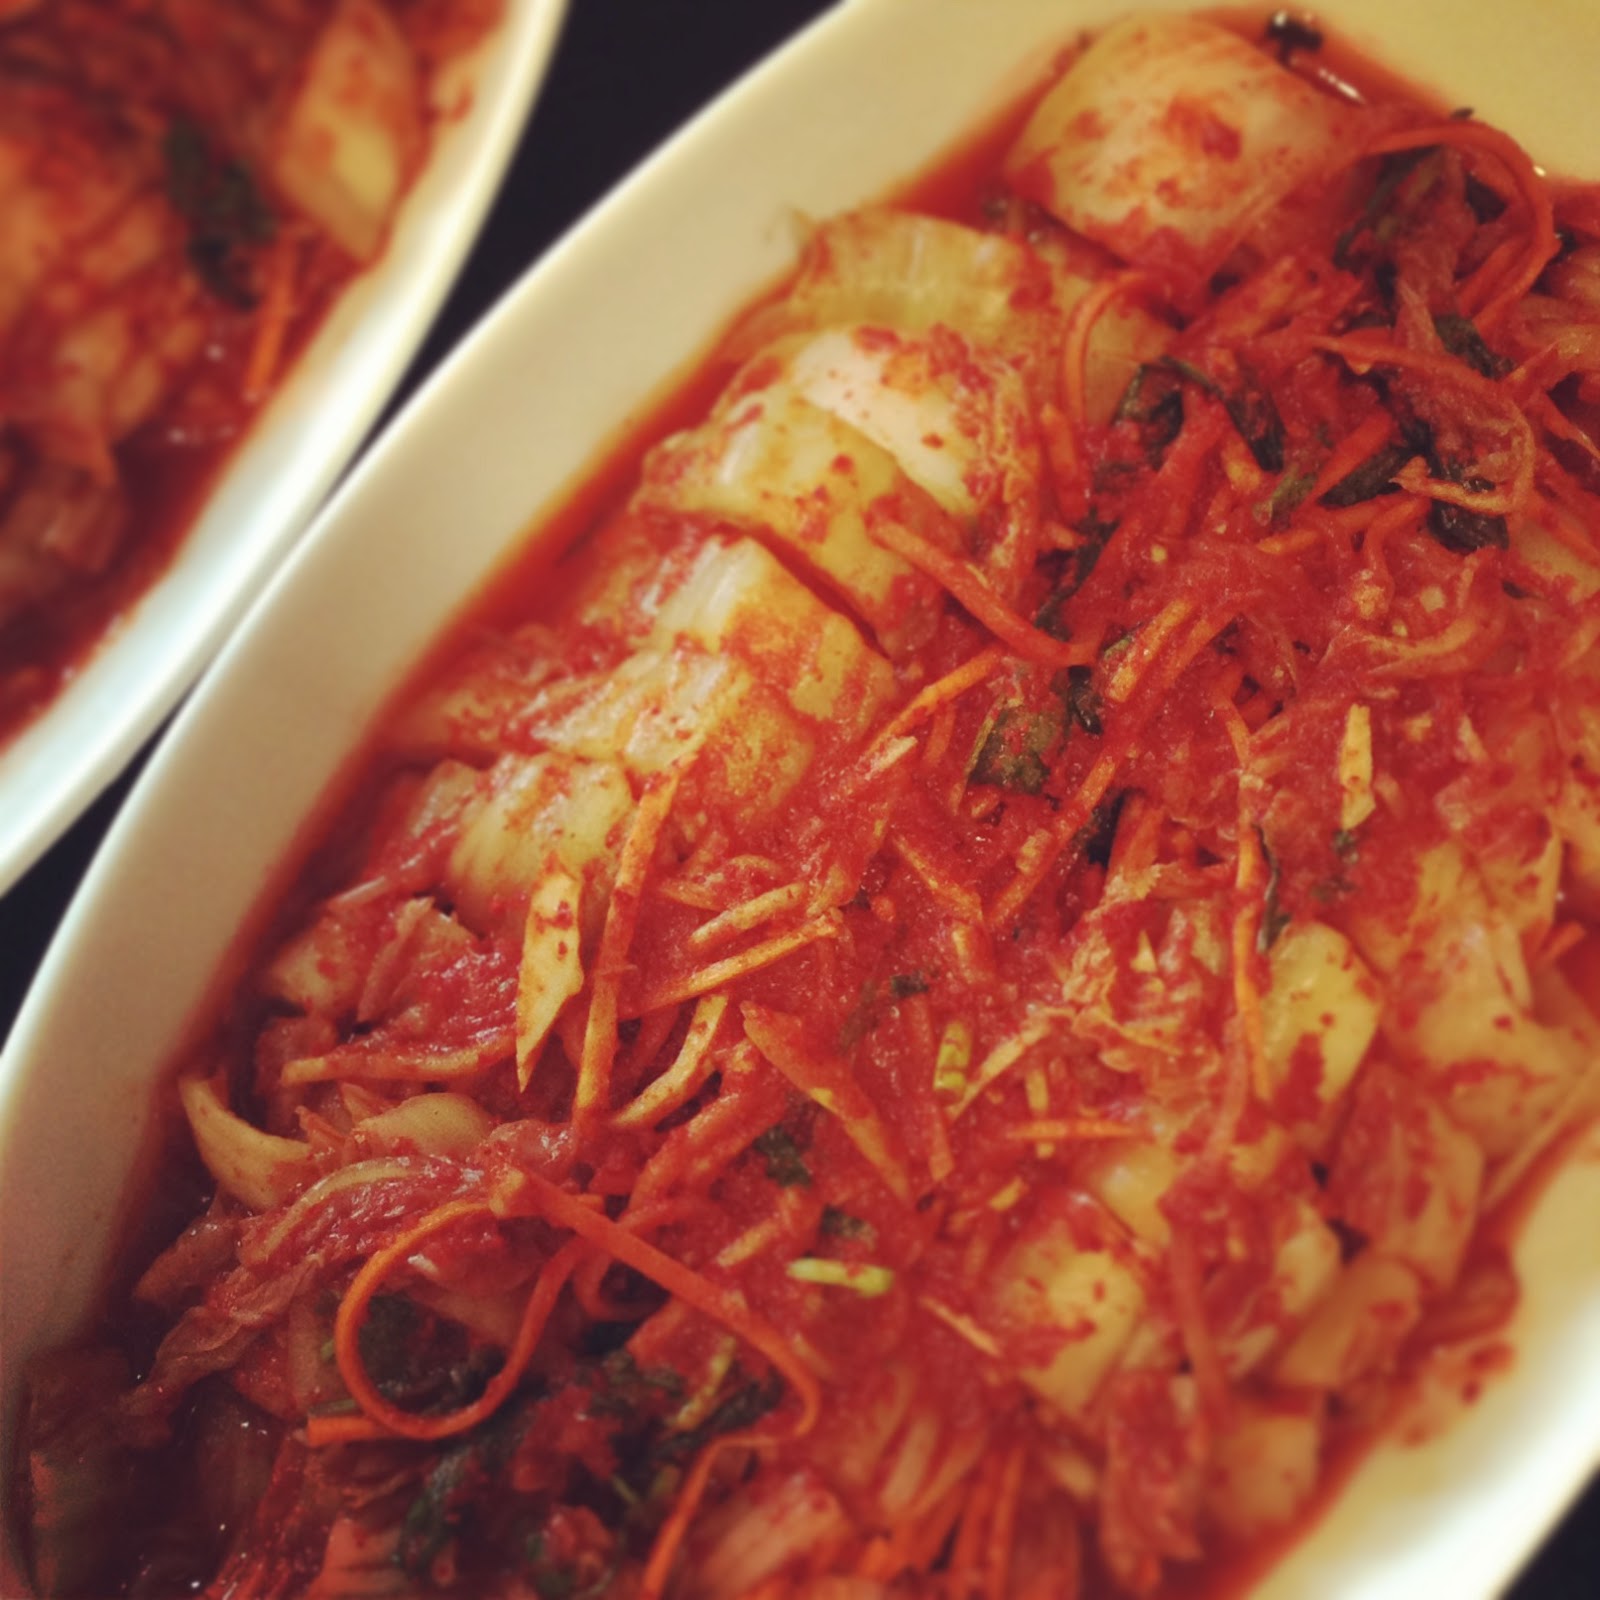
Oppa Gangnam Kimchi ....!!!
Classic Cabbage Kimchi
1 Large Chinese Cabbage
3 liter water
250g Sea Salt
1. Remove the outer leaves of cabbage
2. Cut into 4 lengthwise and rinse in between.
3. Rub half of the sea salt in between all the leaves and set aside .
4. Balance half of the salt mix into the water and stir till salt desolved. Soak the cabbage into the salt water about 5 hours.
Afterwhich please drain it and retain some salt water.
Stuffing
1 white radish peel and cut into thin strip
5 tbsp of korean chillie powder ( gochu-garu , available in any Korean marts )
10 cloves galic , minced fine
4 tbsp minced fresh ginger root
250ml fish sauce
1 onion - finely chpped
1 brunch of chinese chives cut into lengths
1 carrot cut into stips
1 tbsp sugar
1. Prepare above stuffing, mix all together.
2. Speard the stuffing in between the cabbage leaves, make sure all the leaves are coated on BOTH sides.
3. Place the stuffed cabbage in an airtight container and allow it to sit at room tempreture for at least 12 hours. After which place it into the fridge for anothe 4 days and ready to be served.....yummmmm
Healthy and high on pro biotic.......
I added coriander too ....besto hehhehehhehe
Inner Cake Designs ....Ta Da !!!
InSide Cake Design .....
A new baking concept introduced in 2012.
I truly find it interesting.
I decide to explore and lots of exploration , research, testing, trail and errors etc...
So its getting challenging ...
Here are some that I have baked and designed ....
Zebra Strip Design
How to do :
Use any Butter Cake Recipe and divide into 6 different colours
Use a Cake Pop Mould to make several different cake pops
The result is liked this ....so pretty and so pretty easy too ;-)
The same simple steps, prepare several colourful square cakes ( I used the hokkaido paper cups ) .
Once ready placed them into the buttercream batter and bakie!!! and the result is as below....ta da!
Monday, 1 April 2013
Gluten Free Cup Cake
Gluten Free Cuppie.....
Easy Easy ,
Here's the recipe :
115g unsalted butter
115g Caster Sugar ( I usually reduce 25% )
2 Eggs
115g Gluten Free Flour
1 tsp of Gluten Free Baking Powder
3 tbsp of Milk ( if you want it extra moist add one more tbsp )
1 tsp Vanilla Extract
Pre heat Oven to 180C
Mix butter and sugar till light and pale, fluffy
Add eggs one by one and beat on slow
Add all dry ingredients alternately with milk on slow beat.
Place it into cup cake cases and bake for 20 mins .
Easy Easy ,
Here's the recipe :
115g unsalted butter
115g Caster Sugar ( I usually reduce 25% )
2 Eggs
115g Gluten Free Flour
1 tsp of Gluten Free Baking Powder
3 tbsp of Milk ( if you want it extra moist add one more tbsp )
1 tsp Vanilla Extract
Pre heat Oven to 180C
Mix butter and sugar till light and pale, fluffy
Add eggs one by one and beat on slow
Add all dry ingredients alternately with milk on slow beat.
Place it into cup cake cases and bake for 20 mins .
Above is vanilla flavour
You can add 1 tbsp of coffee flavour for coffee flavour cuppie.
Chocolate add 2 tbsp of Gluten Free chocolate powder
and 5 tbsp of milk instead of 3 tbsp.
Icing
200g of Shorterning
30g butter
100-150g of sugar icing
1 tsp of Vanilla
Colouring please use food grading - Wilton
![]() |
| I baked GF rainbow cuppie |
![]() |
| Ta da!!! |
| Cake Pop by Cake Pop mold hehehhehhe |
Sunday, 20 January 2013
Cup Cakes Cup Cakes Cup Cakes
I usually use my Basic Buttercake recipe for all my cupcakes ...;-)
If I need to produce different flavour I just need to eliminate the vanilla first and once the batter is ready divide them into equal potions ie if I need three flavours , I just devide into three portions.
My usual flavours are
Vanilla - add vanilla essence
Chocolate - add cocoa - every tbsp of cocoa added
please add one extra tbsp of milk because cocoa is very dry
Coffee - add coffee essence
If I need to produce different flavour I just need to eliminate the vanilla first and once the batter is ready divide them into equal potions ie if I need three flavours , I just devide into three portions.
My usual flavours are
Vanilla - add vanilla essence
Chocolate - add cocoa - every tbsp of cocoa added
please add one extra tbsp of milk because cocoa is very dry
Rainbow Cupcakes
You need to prepare 6 bowls and divide your
buttercake batter equally.
each bowl please add the required colour -
Red
Orange
Yellow
Green
Blue
Purple
Please use food colouring ie Wilton
Use souffle cups
Once all ready use a small spoon.
Scoop a small amount of each
colour into the souffle cup
please start with
Purple
Blue
Green
Yellow
Orange
Red
Scoop purple and lay it evently and
follow by Blue and lay it evently and so on.
Ensure the batter is filled up to 70% only otherwise it will over spill from the cup.
Zebra Strip Cupcake
as for the zebra strip it is of vanilla & chocolate flavour
Add vanilla and top with chocolate and
vanilla and chocolate and lastly vanilla
Coffee - add coffee essence
Thursday, 10 January 2013
Bacon Cheese Cookies - Gluten Free
Anyone interested in savoury Cookies?
Gluten free Bacon Cheese Cookies,
Gluten free Bacon Cheese Cookies, to prepare it it is as simple as A B C.......
Here's the recipe :
A
1/2 cup polenta
2 tbsp rice flour
1/4 cup ground almonds
1/2 tsp gluten- free baking power
3 tbsp icing sugar
4 tbsp butter, cubed
3 tbsp chedder cheese
B
3 tbsp bacon
1 egg yolk, beaten
***************
Bacon - you can either buy the bottled minced bacon or you can do it yourself.DIY - panfry the bacon till crispy and lay it on kitcken towel and pat dry the oil.
put into a mixer to mince it and leave aside.
1) Prepare your baking tray with NON-stick sheets or wax paper
2) Put A into a food processor and whiz till mixture resembles fine bread crumbs OR you can rub it by hand in a large bowl ( less washing ) heeheeheehee .
3) Stir in the beaten egg yolk an bring it togather to make a dough. Divide into two, wrap closely and chill for 30 mins.
4) Pre heat oven 180C for 10 mins .
5)Remove the dough from the fridge .

Dust the surface lightly with rice flour.
Roll it to 5mm thickness and use a round cutter to cut it ( size of cutter 3 cm )
Transfer to the baking tray and bake it for 8-10mins, until golden brown.
Please let it stand for a few mins to harden and then transfer to a rack to let it fully cool.
Happy baking }}'{{
Tuesday, 8 January 2013
Roasted Chicken
I love roasting chicken, just marinate & put into the oven,
time it ...TING! ta da......ready
The trick is , a fresh chicken, wash & clean it ,
afterwhich please dry it with kitchen towel.
The marination, its up to you how you want to marinate it ie below was a simple marination for chicken rice .....ie
Sesame oil, salt and sugar.
Once its marinated ( ensure the sauce is rubbed onto the entire chicken plus under the skin & inside the chicken) , leave it uncovered into the fridge for one to two days for it to dry.
Place the chicken onto a roasting rack.
After two days you can see the skin frying up.....
Pre - heat your oven to 220C on fan for 10-15 mins.
When its ready, bring the chicken out ,
drizzy some virgin olive oil onto it and put it ito the
oven for 15 mins.
After 15 mins turn the chicken onto
the otherside for another 15 mins.
Please roast your chicken onto a roasting rack.
After the first 1/2 hour is completed,
please turn the chicken back to the top side and
lower down the oven tempreture to 190C WITHout fan
and let roast for 20 mins and
turn the chicken to the other side for another 20 mins .
Depending on the size , this a medium to large size chicken, if your chicken is large size perhaps you need more time .
Happy Roasting ....

But everytime I roast the skin is not crisp but soft ........I did many trail & errors ....final I am so happy with the result.......yeahhhhhh
time it ...TING! ta da......ready
But everytime I roast a chicken the skin turned out soft ........I did many trials & errors ....final I am so happy with the result.......yeahhhhhh
The trick is , a fresh chicken, wash & clean it ,
afterwhich please dry it with kitchen towel.
The marination, its up to you how you want to marinate it ie below was a simple marination for chicken rice .....ie
Sesame oil, salt and sugar.
Once its marinated ( ensure the sauce is rubbed onto the entire chicken plus under the skin & inside the chicken) , leave it uncovered into the fridge for one to two days for it to dry.
Place the chicken onto a roasting rack.
After two days you can see the skin frying up.....
Pre - heat your oven to 220C on fan for 10-15 mins.
When its ready, bring the chicken out ,
drizzy some virgin olive oil onto it and put it ito the
oven for 15 mins.
After 15 mins turn the chicken onto
the otherside for another 15 mins.
Please roast your chicken onto a roasting rack.
After the first 1/2 hour is completed,
please turn the chicken back to the top side and
lower down the oven tempreture to 190C WITHout fan
and let roast for 20 mins and
turn the chicken to the other side for another 20 mins .
Depending on the size , this a medium to large size chicken, if your chicken is large size perhaps you need more time .
Happy Roasting ....
But everytime I roast the skin is not crisp but soft ........I did many trail & errors ....final I am so happy with the result.......yeahhhhhh
Subscribe to:
Posts (Atom)